JIRA Sips #1 — Managing & Granting User Permissions for the IT Project


Nov 18, 2020
•
10 min
•
Sep 30, 2025

Written by: Elvis Sinijs
Do you use JIRA Cloud Software for managing your projects? If the answer is “Yes”, then you might find valuable insides in the following lines of this article as it explains on how to manage & grant specific user permissions in situations where you have one or multiple projects with internal and external people (outside your organization, partners or outsourcing company) involved in software creation.
The Problem
“Most companies fail to grant correct Jira user permissions, as users see company related items which they should't have seen at all or have access, and this in the result badly — possible data loss, conflict situations, or manipulation of track record.”
Think about a situation when client/external developer wants to follow/work in JIRA application for the project but when they are added by default to JIRA — they have immediate access to all of the company’s projects and information related within those projects. And this is bad… right? 😱 I hope your company's Jira Administrator is experienced enough not to make such mistake 🤓 — if this is true — you're safe 😎 , but if You believe there might be a problem — let's continue to solution section.
The Solution
If the previous section increased your stress level, please, do not worry — I'm here to help You to solve the problem, which most companies just forget to solve immediately when adding external users, and I was in the same situation when started using Jira.

⚠️ Before you begin — You must have the JIRA Administrator or JIRA System Administrator global permission to be able to manage users in JIRA applications. All steps are designed for Jira Cloud software.
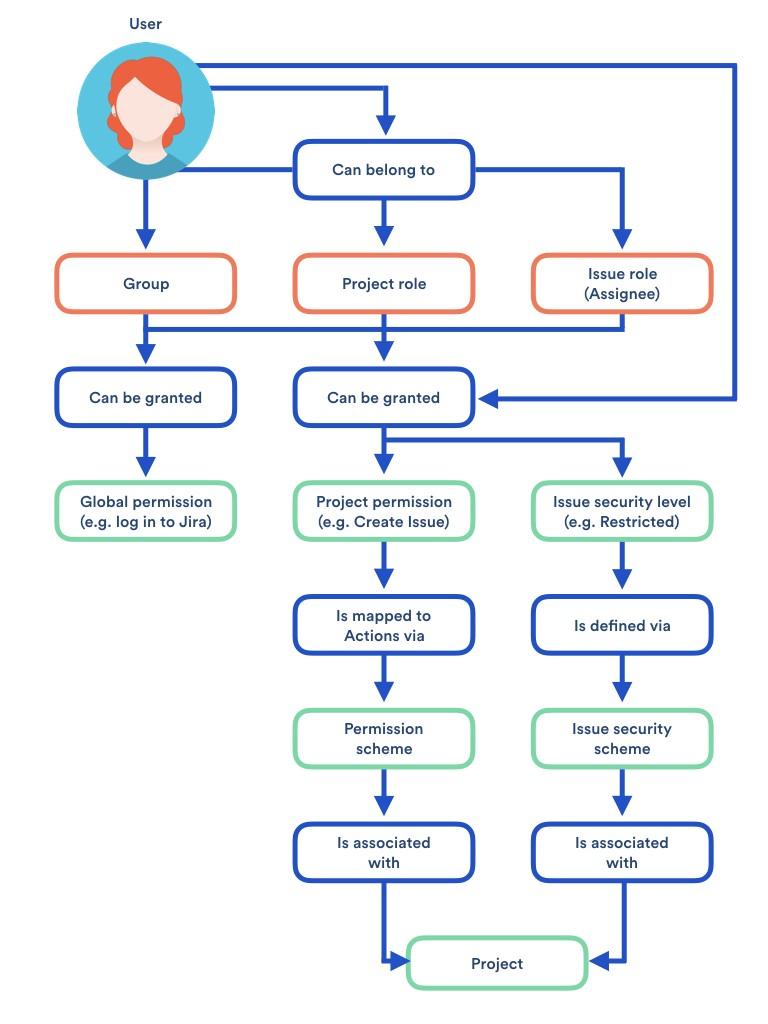
0. Permission Structure in Jira
Overall, JIRA applications have a flexible security system which allows you to configure who can access JIRA applications, and what they can do/see within them.
There are five types of security levels within JIRA applications:
- Global permissions — these apply to JIRA applications as a whole (usually assigned by default to all Jira-Software users)
- Project permissions — organized into permission schemes, these apply to projects as a whole (e.g. who can see the project’s issues (‘Browse’ permission), create, edit and assign them). (THIS IS WHAT WE'LL LOOK MORE CLOSELY 😎 🔥 )
- Issue security levels — organized into security schemes, these allow the visibility of individual issues to be adjusted, within the bounds of the project’s permissions.
- Comment visibility — allows the visibility of individual comments (within an issue) to be restricted.
- Work-log visibility — allows the visibility of individual work-log entries (within an issue) to be restricted. Does not restrict the visibility of progress bar on issue time tracking.
1. Creating a Group
The best way to give a user access to specific JIRA functions is to add a user to a predefined user group.
User group — a convenient way to manage a collection of users. You can use groups throughout Jira to allow application access. Grant global permissions or project specific access. Main differences between Project Roles and User Group is that Project Roles are project-specific while groups are global across the JIRA application.
This is important as it makes a big difference when you are going to edit permissions for a project. For example, if you will add a group for a permission “browsing projects” (which gives the ability to browse projects and the issues within them) then this group will have access to all projects because this is going to be global across the JIRA application. As stated above “Groups are global across the JIRA application”. Altho if you set a project role for the same example “browsing projects” then only that set project role is going to have access to that project.
Steps to perform:
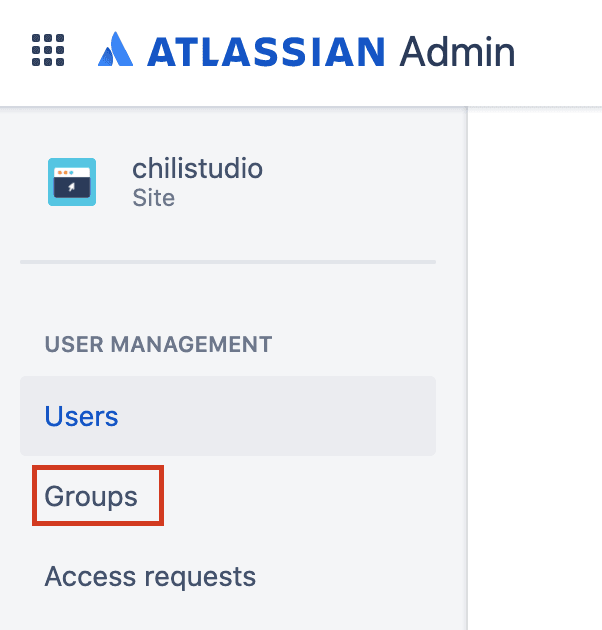
- Log in as Administrator at admin.atlassian.com
- Click Groups under User Management tab to view the user list
- Click Create Group on the right-hand side of view
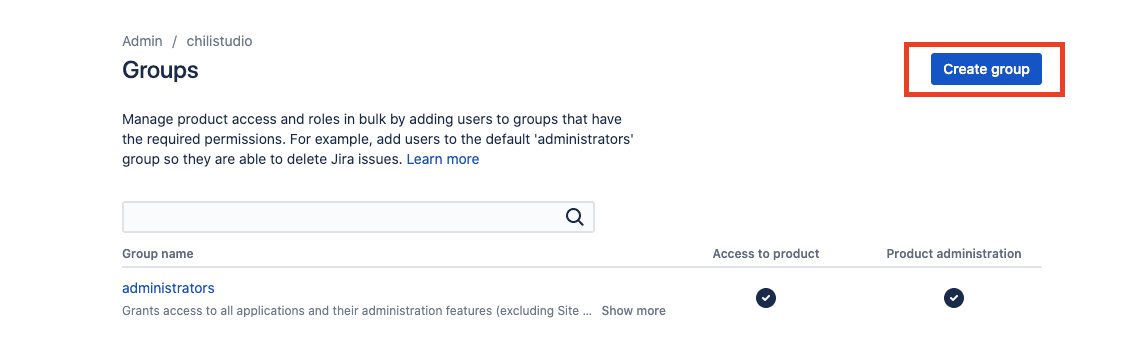
- Give a name and description (if needed) to Group. Optional — you can mark “Add members in the next step” it will give the instant option to add members

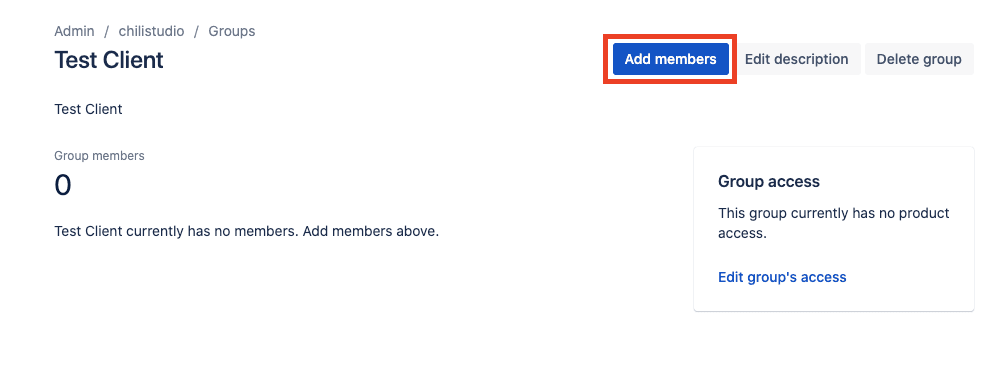
Add Group Members by pressing to “Add members” Side comment — at this point I'm not adding usually member yet. As they might be assigned to a different group at this current state.
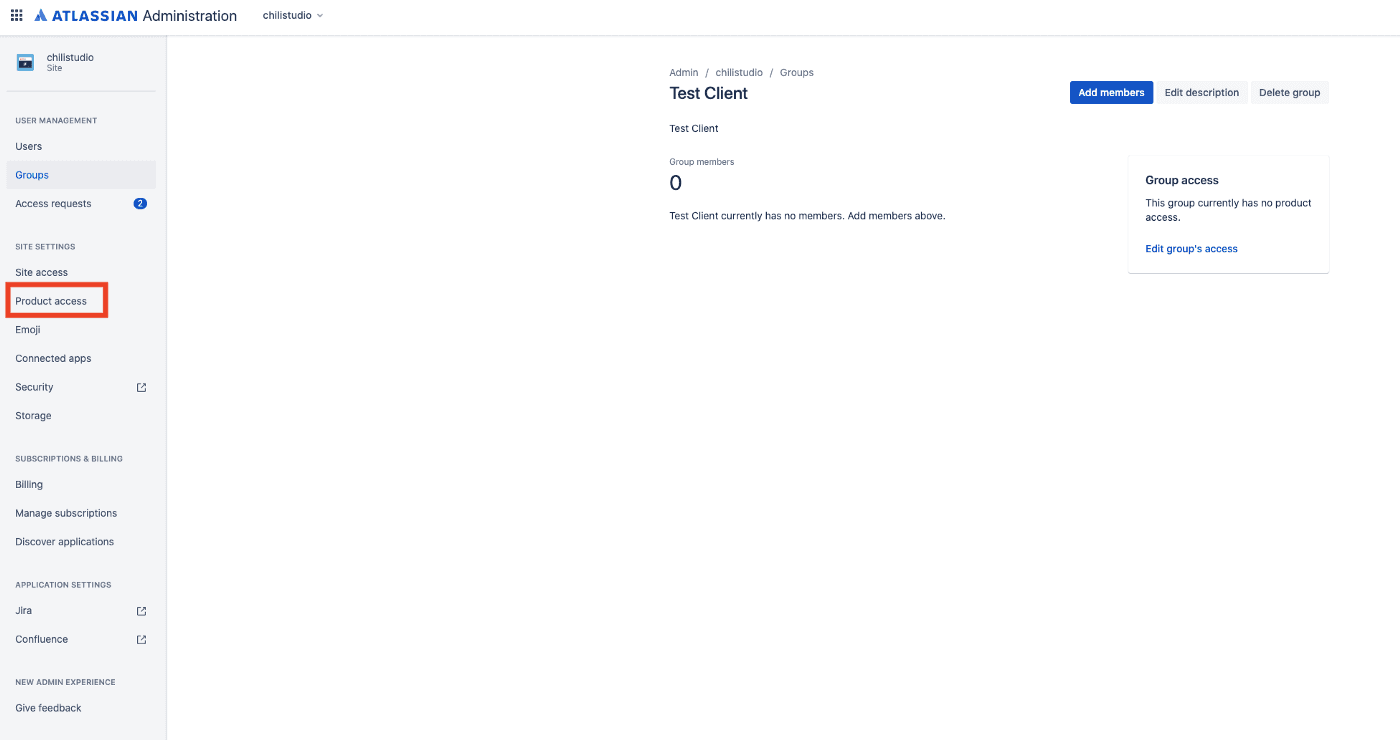
- Once Group is created and members added — it’s time to give Group Product Access. Under Site Settings choose Product Access ⚠️ Side comment — this is the most forgotten action to take, not doing this will result in doing nothing ⚠️
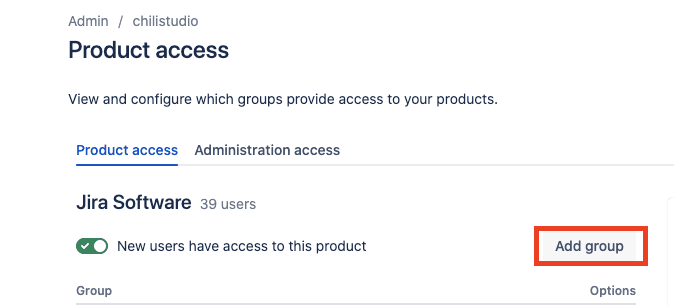
In Product Access press “Add group” and choose your target group. Side comment — all your users by default usually are assigned to Jira Software group, and if you look closer there is a statement “New users have access to this product”, by turning it OFF, users will be not assigned by default to the group.
2. Create a Project Role
One way to give users access to a project role is to grant access at the user level. If you have fewer than 50 JIRA users, you can manage user permissions by manually assigning users to a project role. If you have more than 50 users, Jira recommends adding users to a group that can then be assigned to a project role, as explained above.
Project roles are a flexible way to associate users and/or groups with particular projects. Project roles also allow for delegated administration.
Steps to perform:
- I hope you're already logged in as Administrator, if not Log in as Administrator at admin.atlassian.com
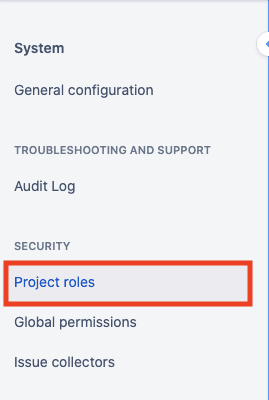
- Go to JIRA Settings → System → Security and select Project Roles
🚨 Shortcut — you can also press full stop (.) which will open a dialogue box for search and there you can enter “Project Roles” — if you want to master more Jira shortcuts follow this link here. 🚨
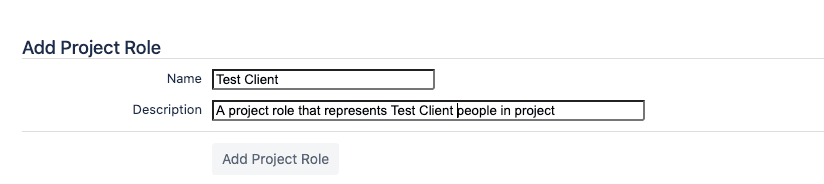
- At the bottom of the page, you can Add Project Role. Simply write a “Name” for the role and add a description for it. For example, I wrote something like “Name — Client” and “Description — Permissions for one project only to the client
- Once added — now you can start to manage default users for certain Project Role. Tap on Actions section “Manage default members” and press “Edit” to add users or/and groups.
Side comment — It's okay to add only the group, but if you need to add some extra person which is not in the group you can list him/her in the User selection.

3. Create/Copy a Permission Scheme
The most important part of the article — permission schemes, which just cannot be screwed, so let's dive deep and setup scheme for the project.
What is a permission scheme?
“A permission scheme is a set of user/group/role assignments for the project permissions listed above. Every project has a permission scheme. One permission scheme can be associated with multiple projects.” Atlassian
Steps to perform:
- I hope you’re already logged in as Administrator, if not Log in as Administrator at admin.atlassian.com
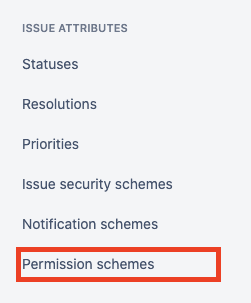
- Go to JIRA Settings → Issues An alternative option is to press “.” and type in “Permission schemes” in dialog
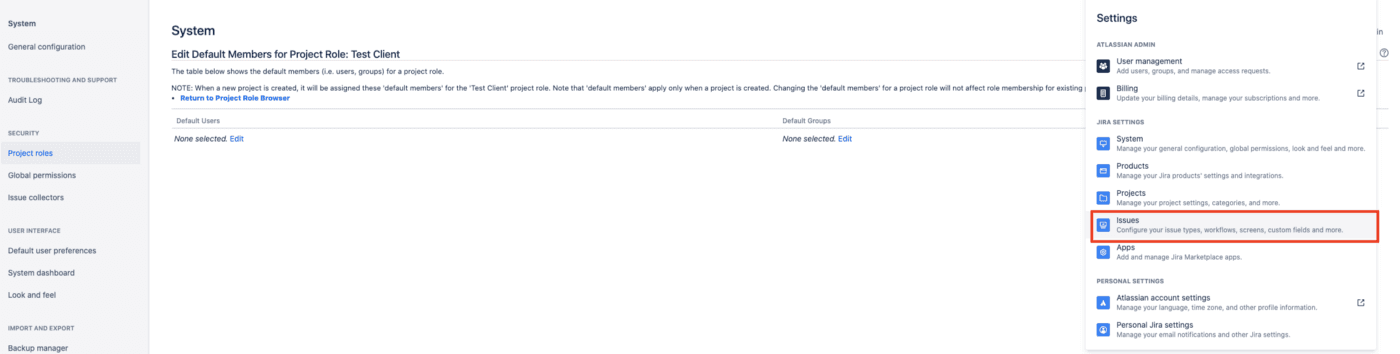
Select Permission Schemes under Issue Attributes to open the Permission Schemes page, which displays a list of all permission schemes in your JIRA system and the projects that use each scheme.
- To make life easier you can just copy an already existing permission scheme so you can only edit the necessary fields and not adding every single field. This is going to create a copy of already existing permission scheme so you can just edit it. Creation of brand new permission scheme can take some time as every entry should be done manually, and, yeah, this is time-consuming.

- After that, you can just click on “edit” and “Permissions” on the copied Permission scheme.
a) By clicking on “edit” for the created/copied scheme you can change the “Name” and “Description” for it;
b) By clicking on “Permissions” you can see all the available permissions for specific actions.

- Click on “Permissions” and search for “Browse Projects” and click on “Remove”. We need to remove “application access — Any logged in user” because this would enable a situation when any logged in user has the ability and access to see the project and all information within it.
Side comment — I have also removed “Any logged in user” in other tabs bellow, as this still means that user can probably somehow see the content of the following permission which will be assigned to project later on.


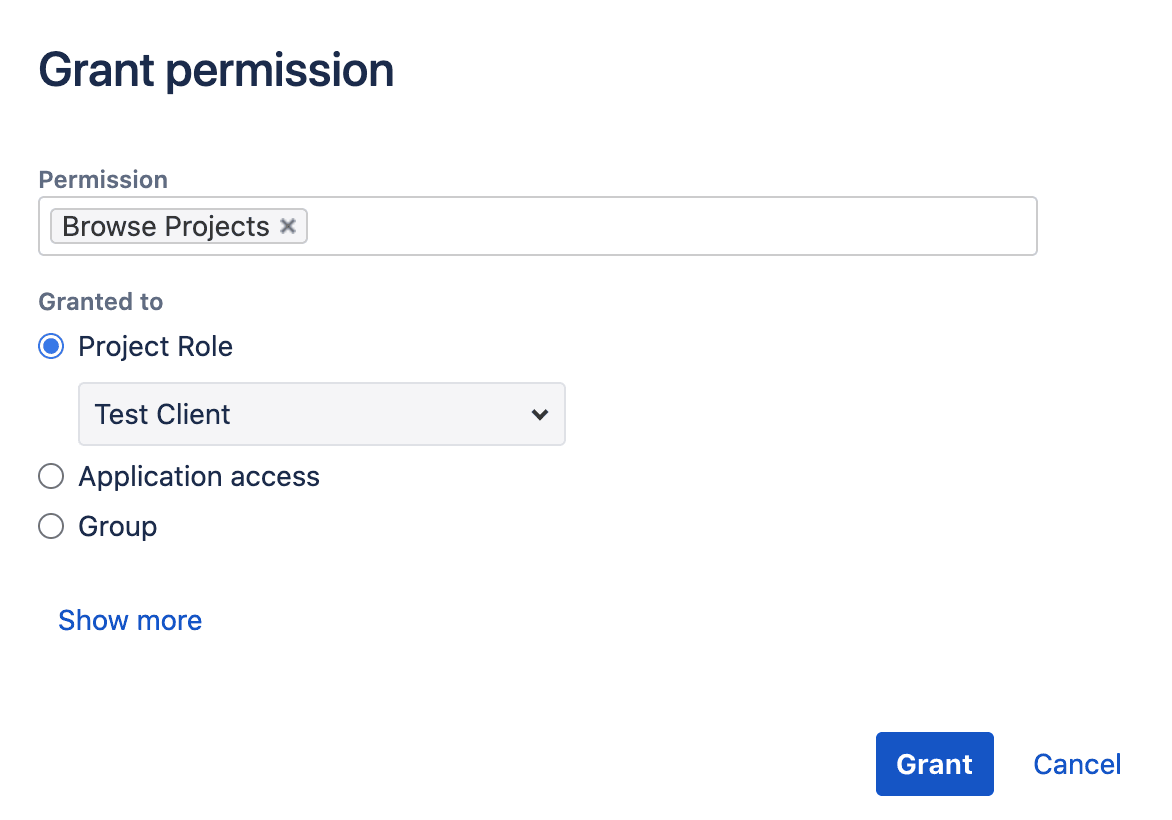
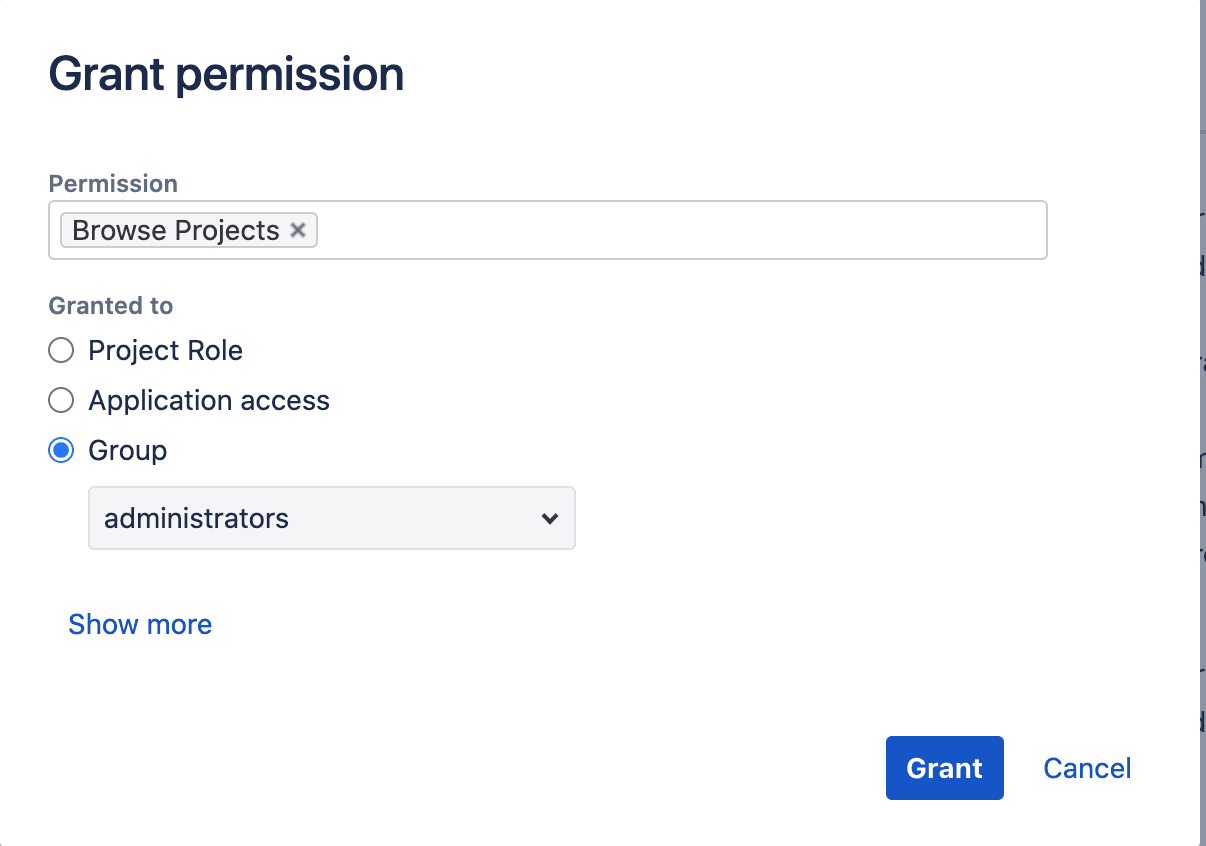
- To add any permission simply click on “Edit”. Now go back to field “Browse projects” click on “edit” and add the created role at “Project Role”. This is going to enable the ability to browse projects and the issues within them for the added project role. This is also why you need to remember why we are adding a “Project role” and not a “Group” as it was explained above with the difference between those two things. However, for some cases, when your group user is not in Jira Software default group, you can add also as Grant permission to a Group, which we have created on the Step #1.
4. Assign Permission Scheme to the Project
Once Step #3 — the creation of a permission scheme is done, now it's time to assign your created scheme to a real project where this will be used.
Steps to perform:
- I hope you’re already logged in as Administrator, if not Log in as Administrator at admin.atlassian.com
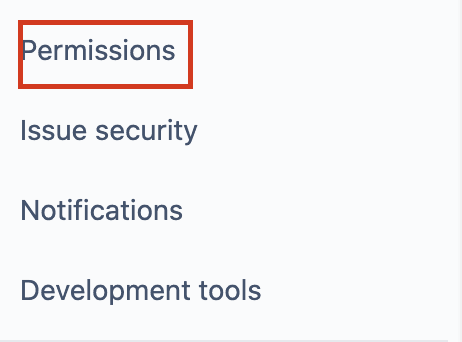
- Go to your selected project and at “Project Settings” find ‘’Permissions’’.
- On the top-right hand side of the page click on “Actions” and “Use a different scheme”.

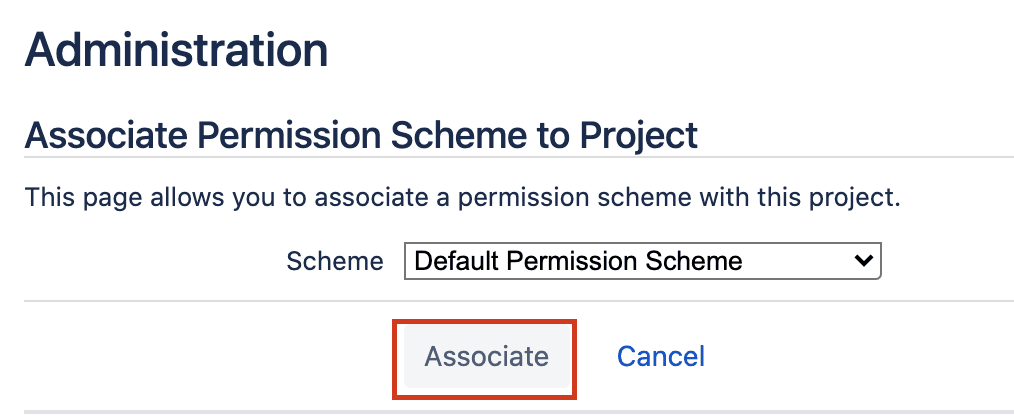
Now find your created scheme and click on “Associate”. This will replace the current Permission Scheme with your chosen one.
5. Assign Permission Scheme to the Project
Last but not least, yes, a lot of complex steps, even MJ is laughing, but this one is the last step you need to perform.

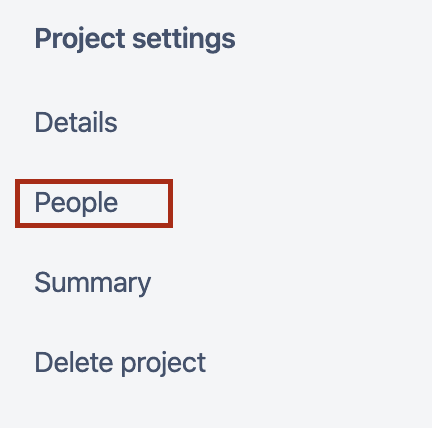
- Go to your selected project and at “Project Settings” find “People”.
- At the top-right hand side of the page click on “Add People”.
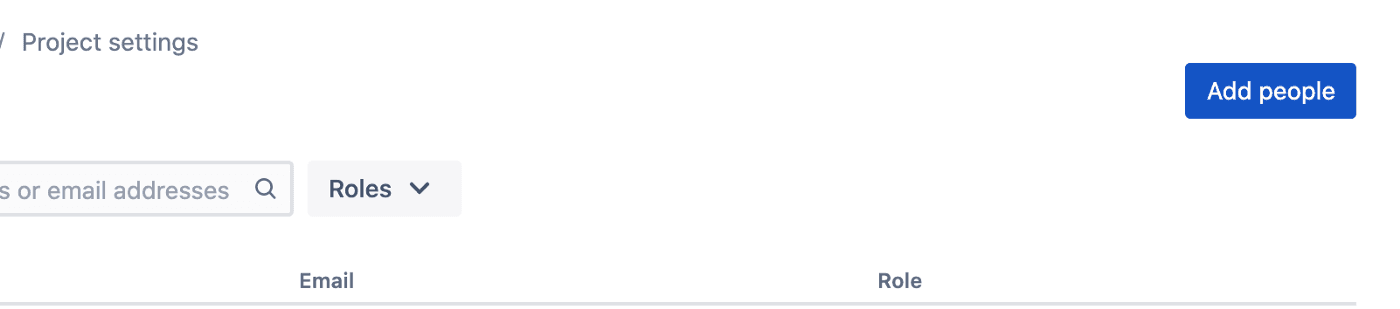
- Now just find your created group and select your created role for the client (the same grouping of the group or/and role should be present in a project-specific permission scheme)

And we're DONE in terms of setting up all permissions 😃 , but now it's time for real-life testing 🚀 😜

6. Checking people permissions (testing granted permission)
There are two ways how to test that everything that we have been building so far works as expected
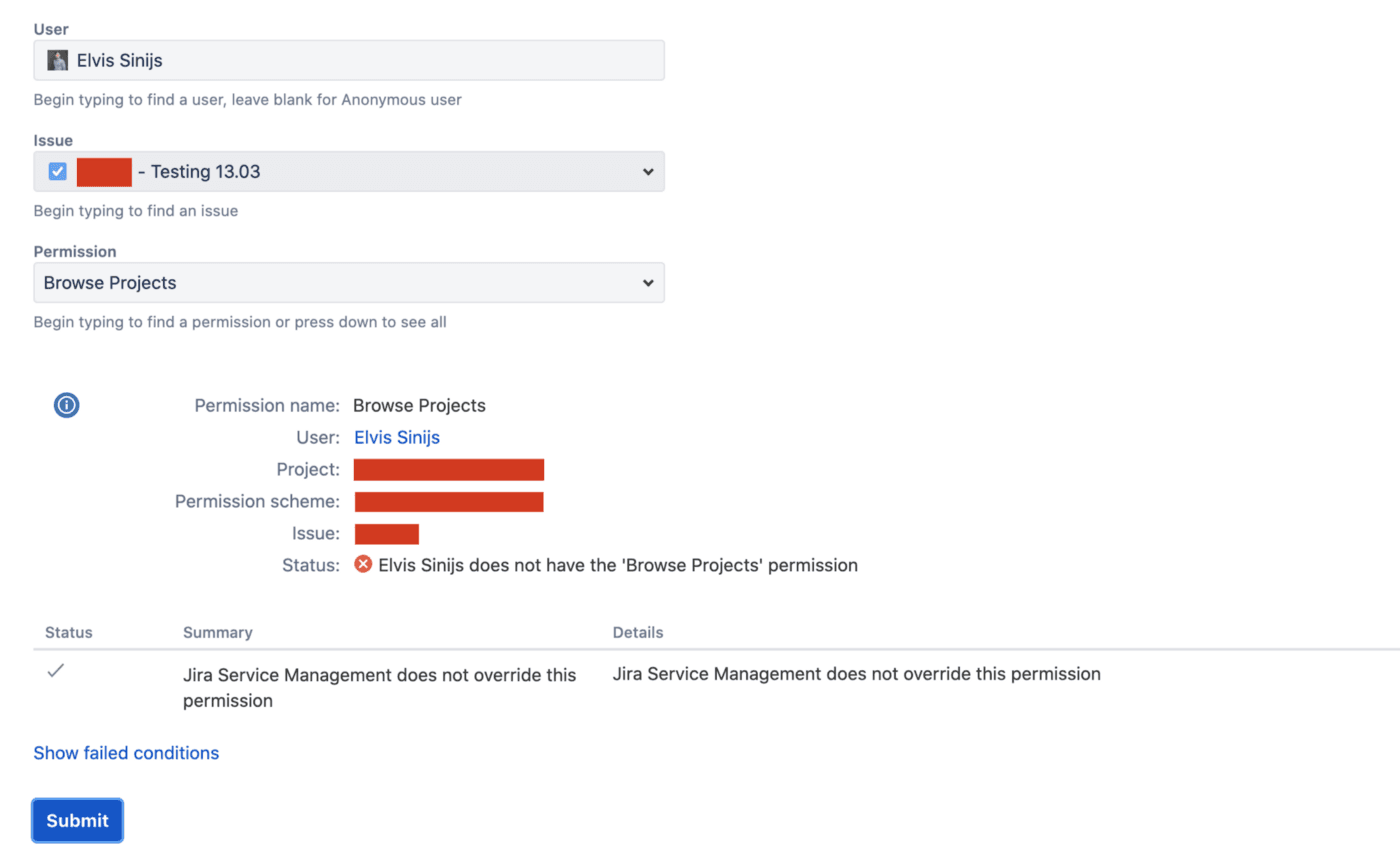
1. Permission helper — simple and easy option for Administrators to check instant permissions for a specific user on the project.
Steps: Go to “Jira Settings” → ”Admin Helper” → ”Permission Helper” You can check permissions for people (like if they have specific accesses).
In an example, when a user does not have permission (external clients, or someone outside of your organisation) permission helper should indicate following line “Elvis Sinijs does not have the “Browse Projects” permission, upon choosing specific Permission group to check = “Browse Projects”
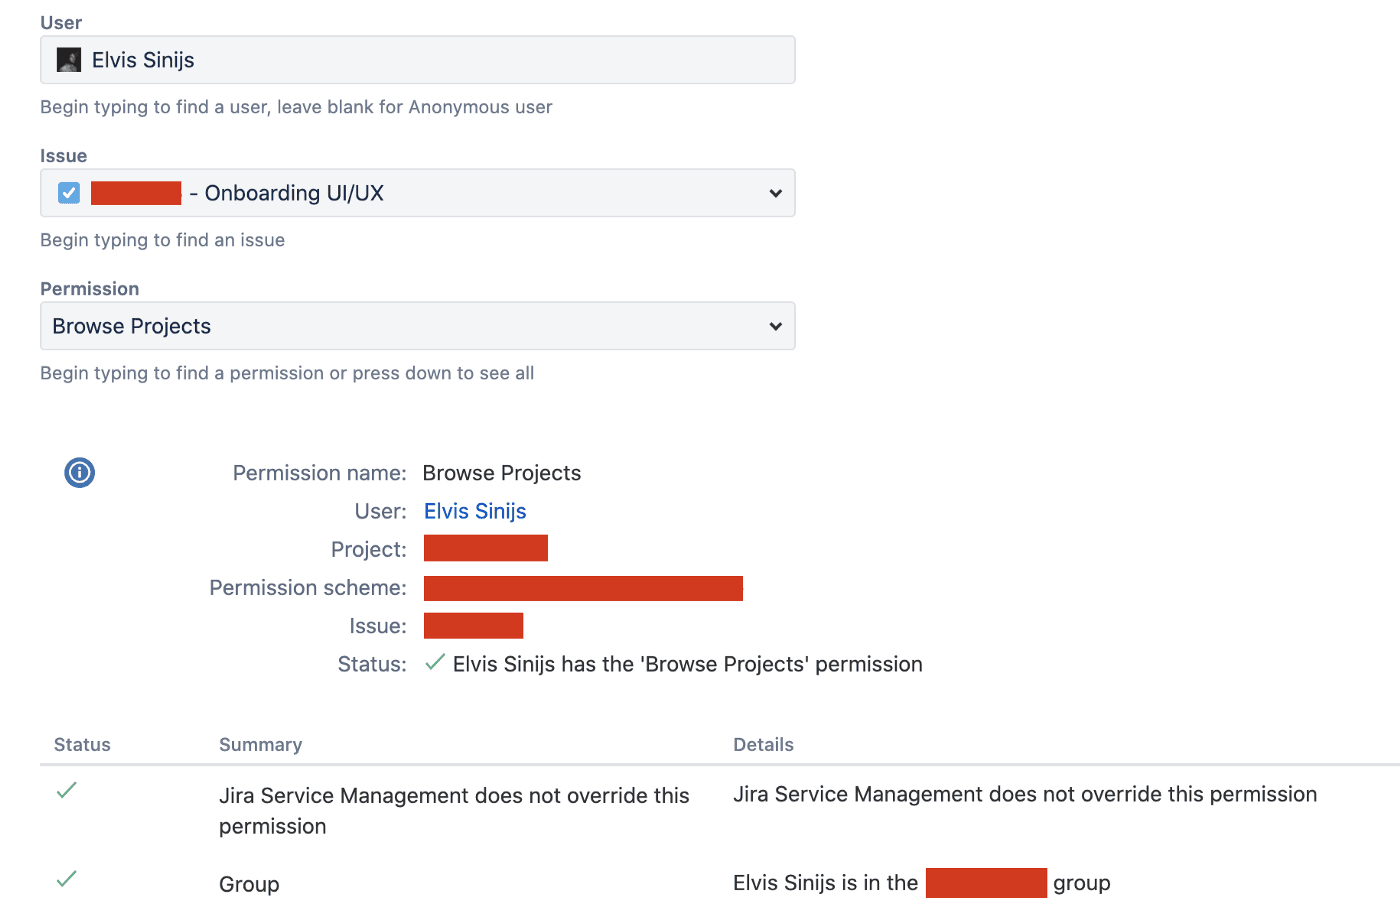
In an example, when the user has permissions, chose specific Permission group to check = “Browse Projects” and submitted the result — which in the end turn “Elvis Sinijs has the “Browse Project” permission.
2. Test with your team — here you can see how it works in real life by testing with your real internal users, try to play with Groups and Project Roles, and see if at one point they come to you and say — “I don't have permission to the project” — this is a good sign, this means something is working as You expected.
If you're reading this line, then I would like to say :

You have read the full Medium post on Managing & Granting User Permissions for the IT Project 🚀 🎉 Feel free to contact me directly or write comments under this post. Your Claps also is important for this post 👏 and Follow me for more PM-related information.